Lab
What is it ?
The lab is a set of exercises available on the intra.
It allows students to push their exploits, which are automatically tested and graded.
It is recommended to work on the exercises available on this website first before trying the lab, since hints are given here.
The exercises in the lab will be very similar to the website exercises.
Setup
Adding your ssh key
- Go to https://cri.epita.fr/
- Login with your epita account
- Go to your profile (top right corner)
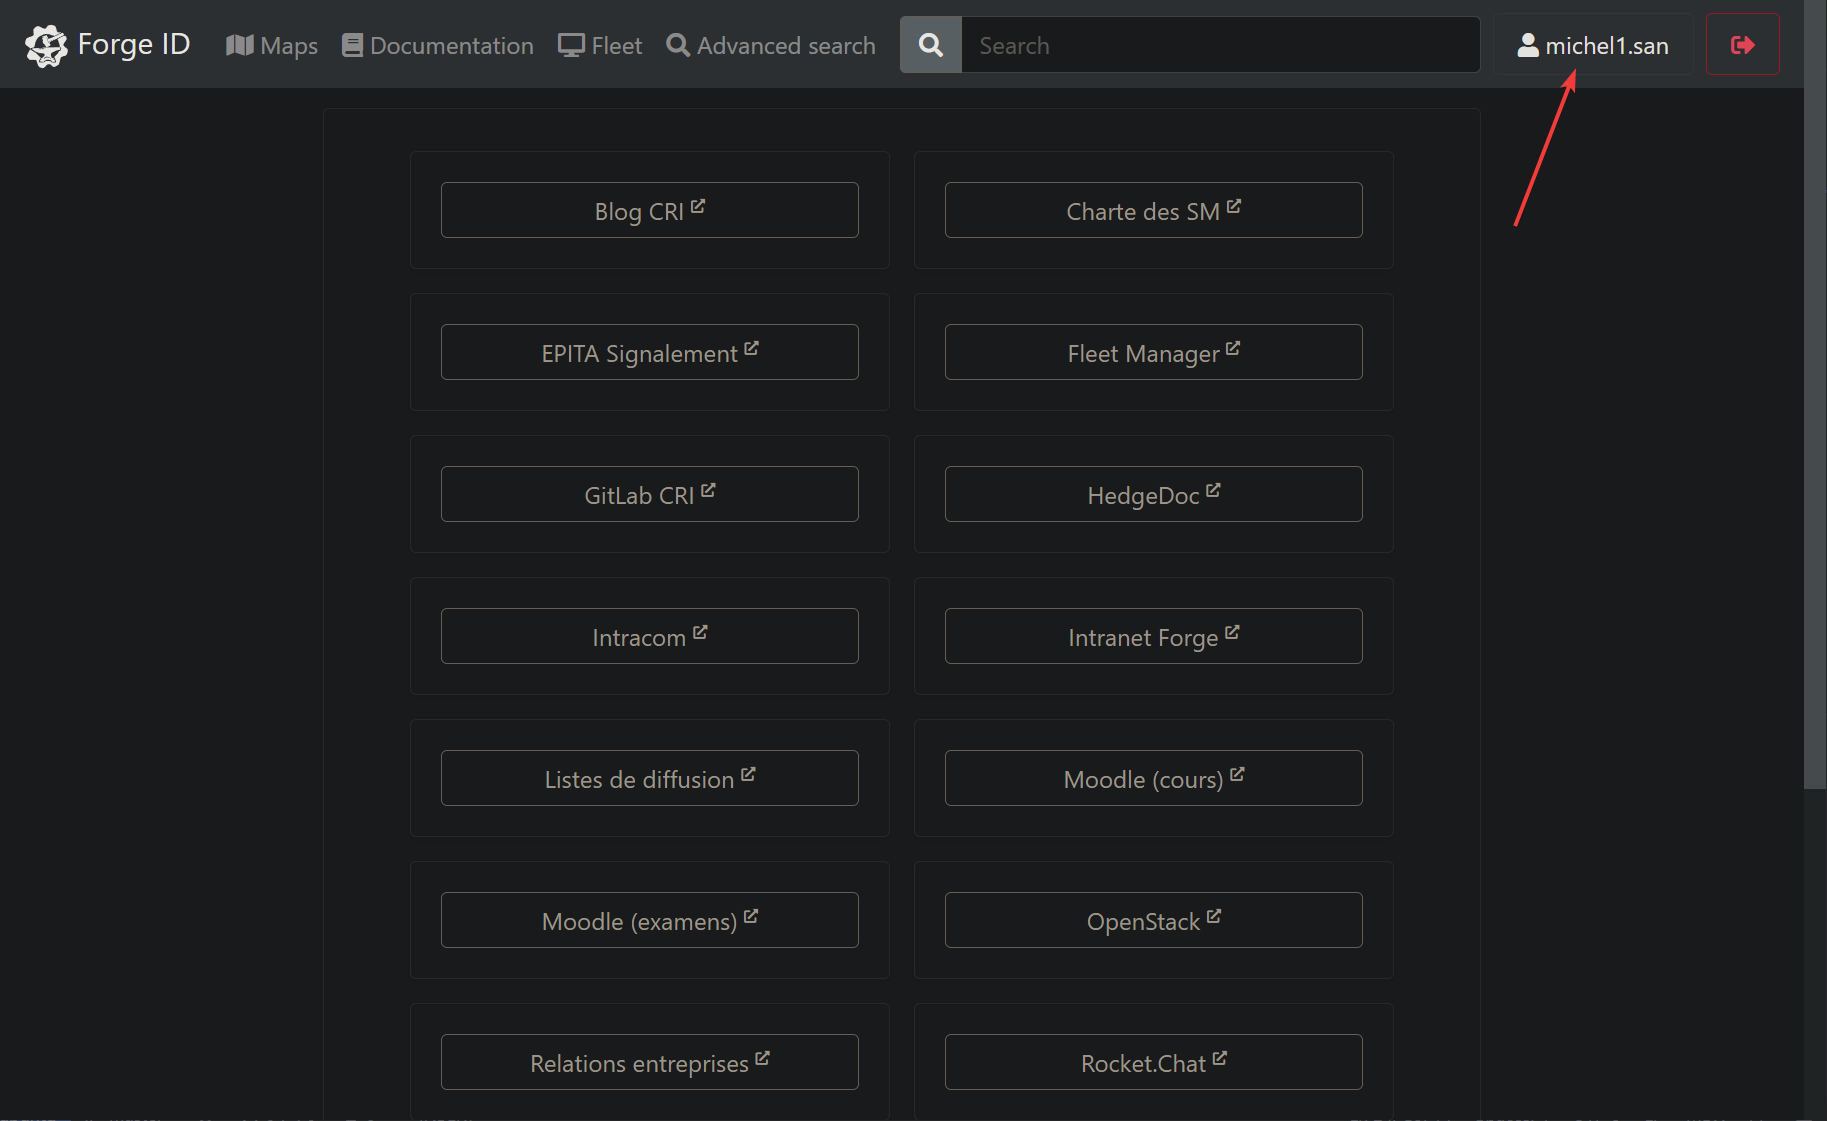
- Click on
SSH Keys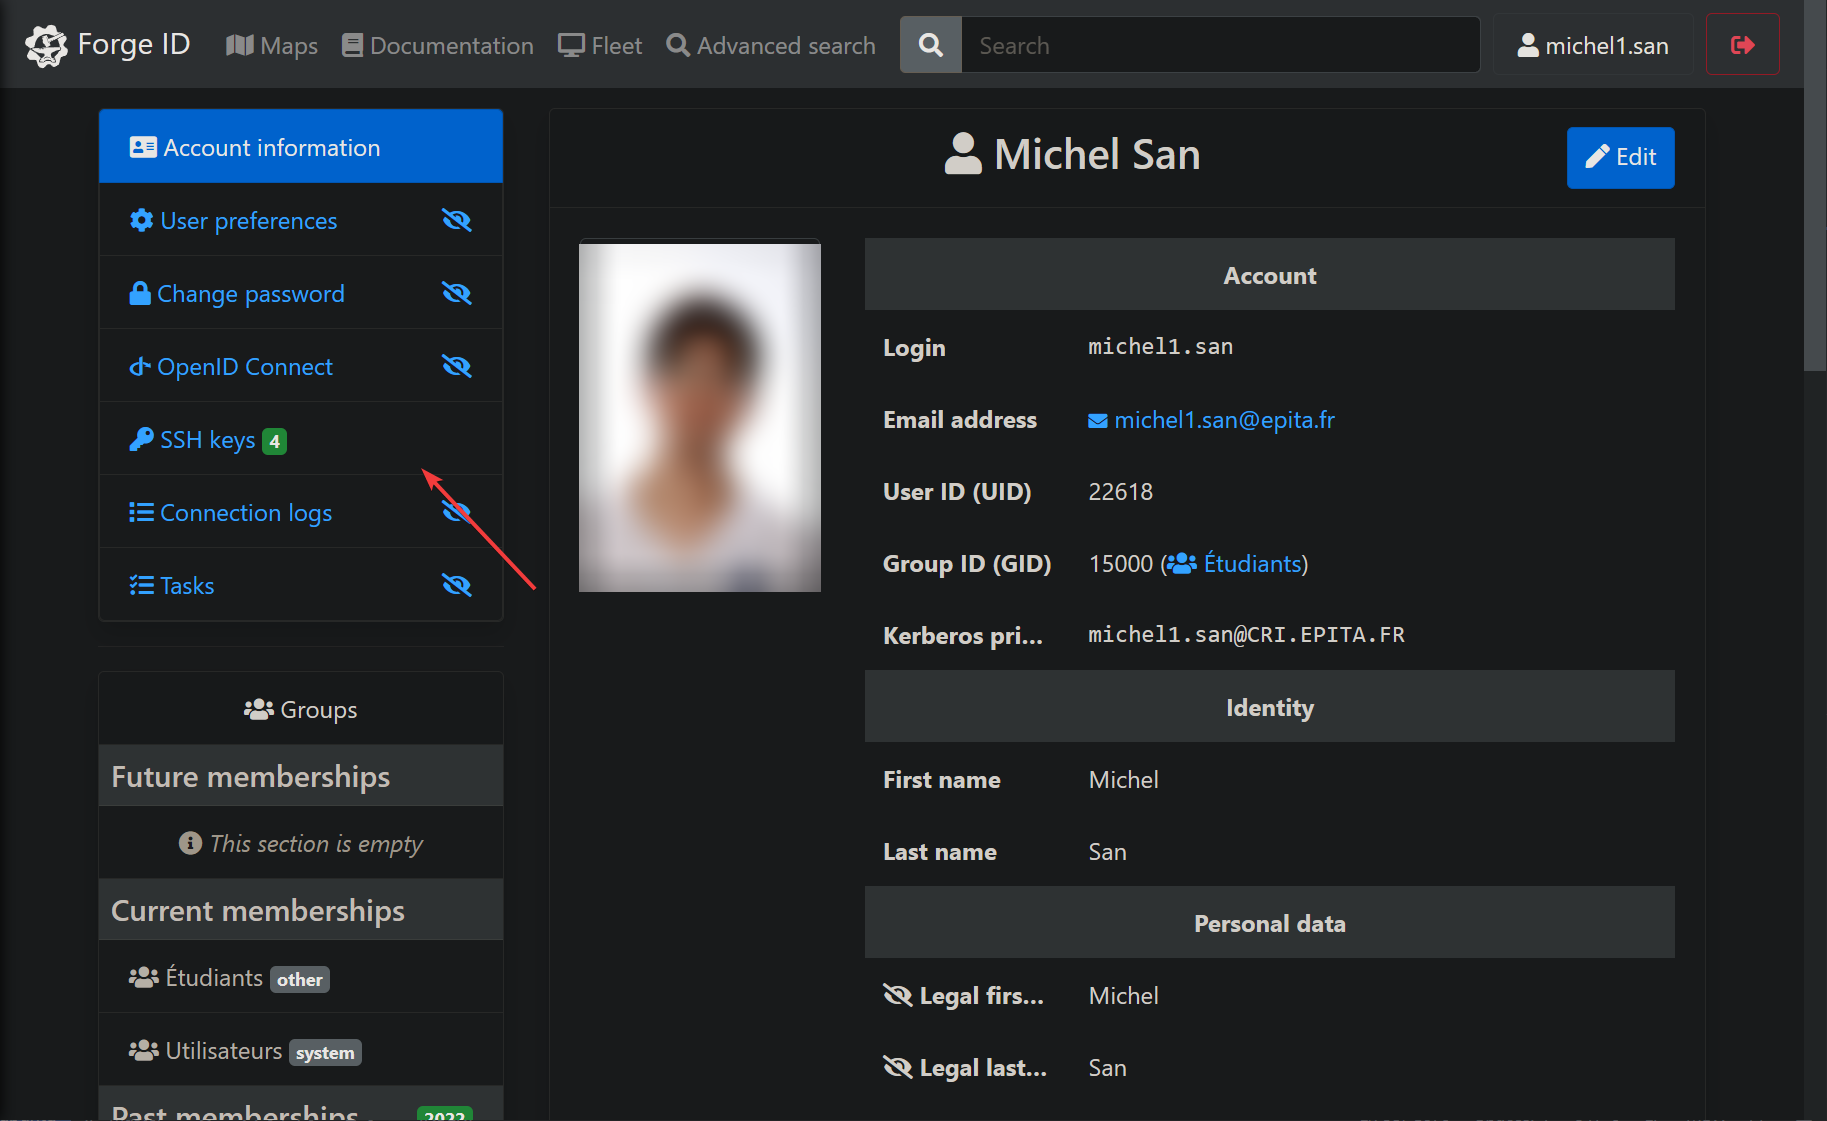
- Add your public ssh key (to generate your own ssh key, check this), do it inside your docker container
- Finish by clicking on
Add SSH Key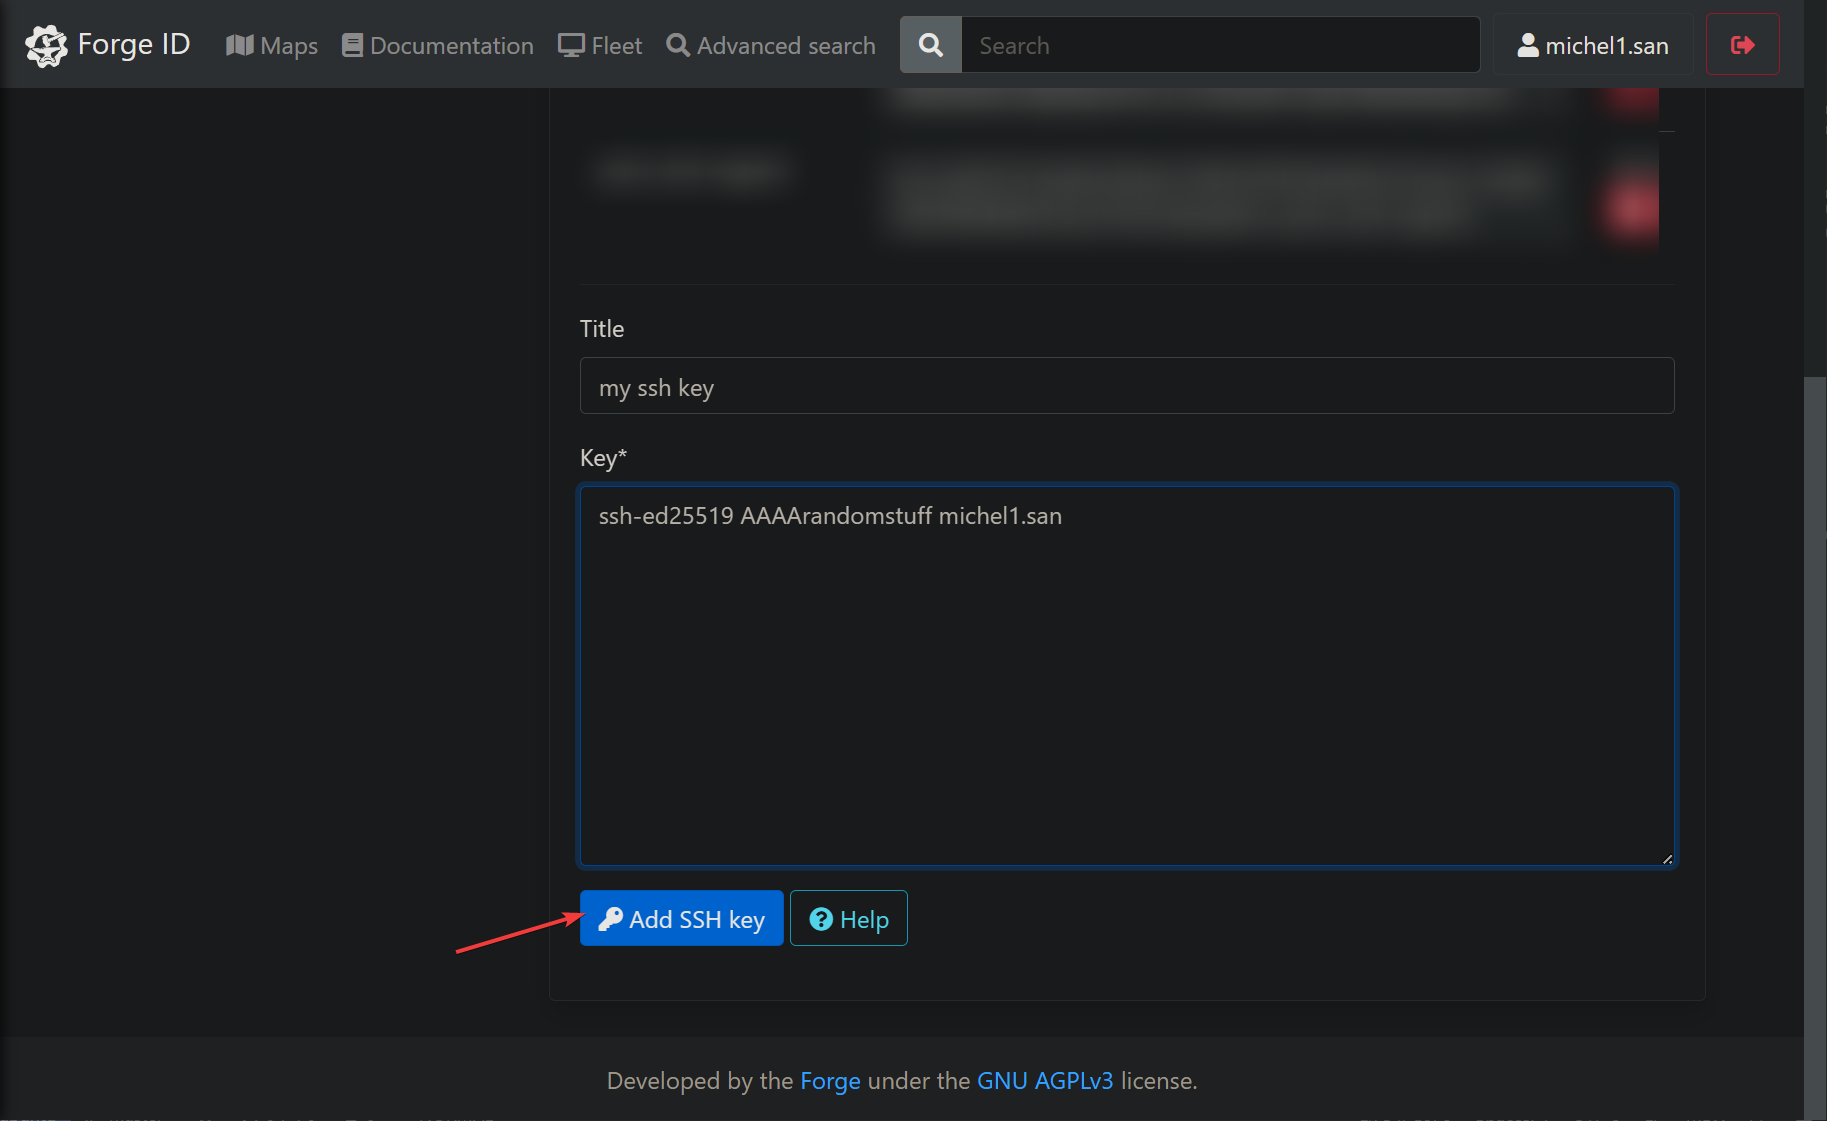
Cloning the repo
Inside your docker container
- Go on the first exercise
- Copy the git remote
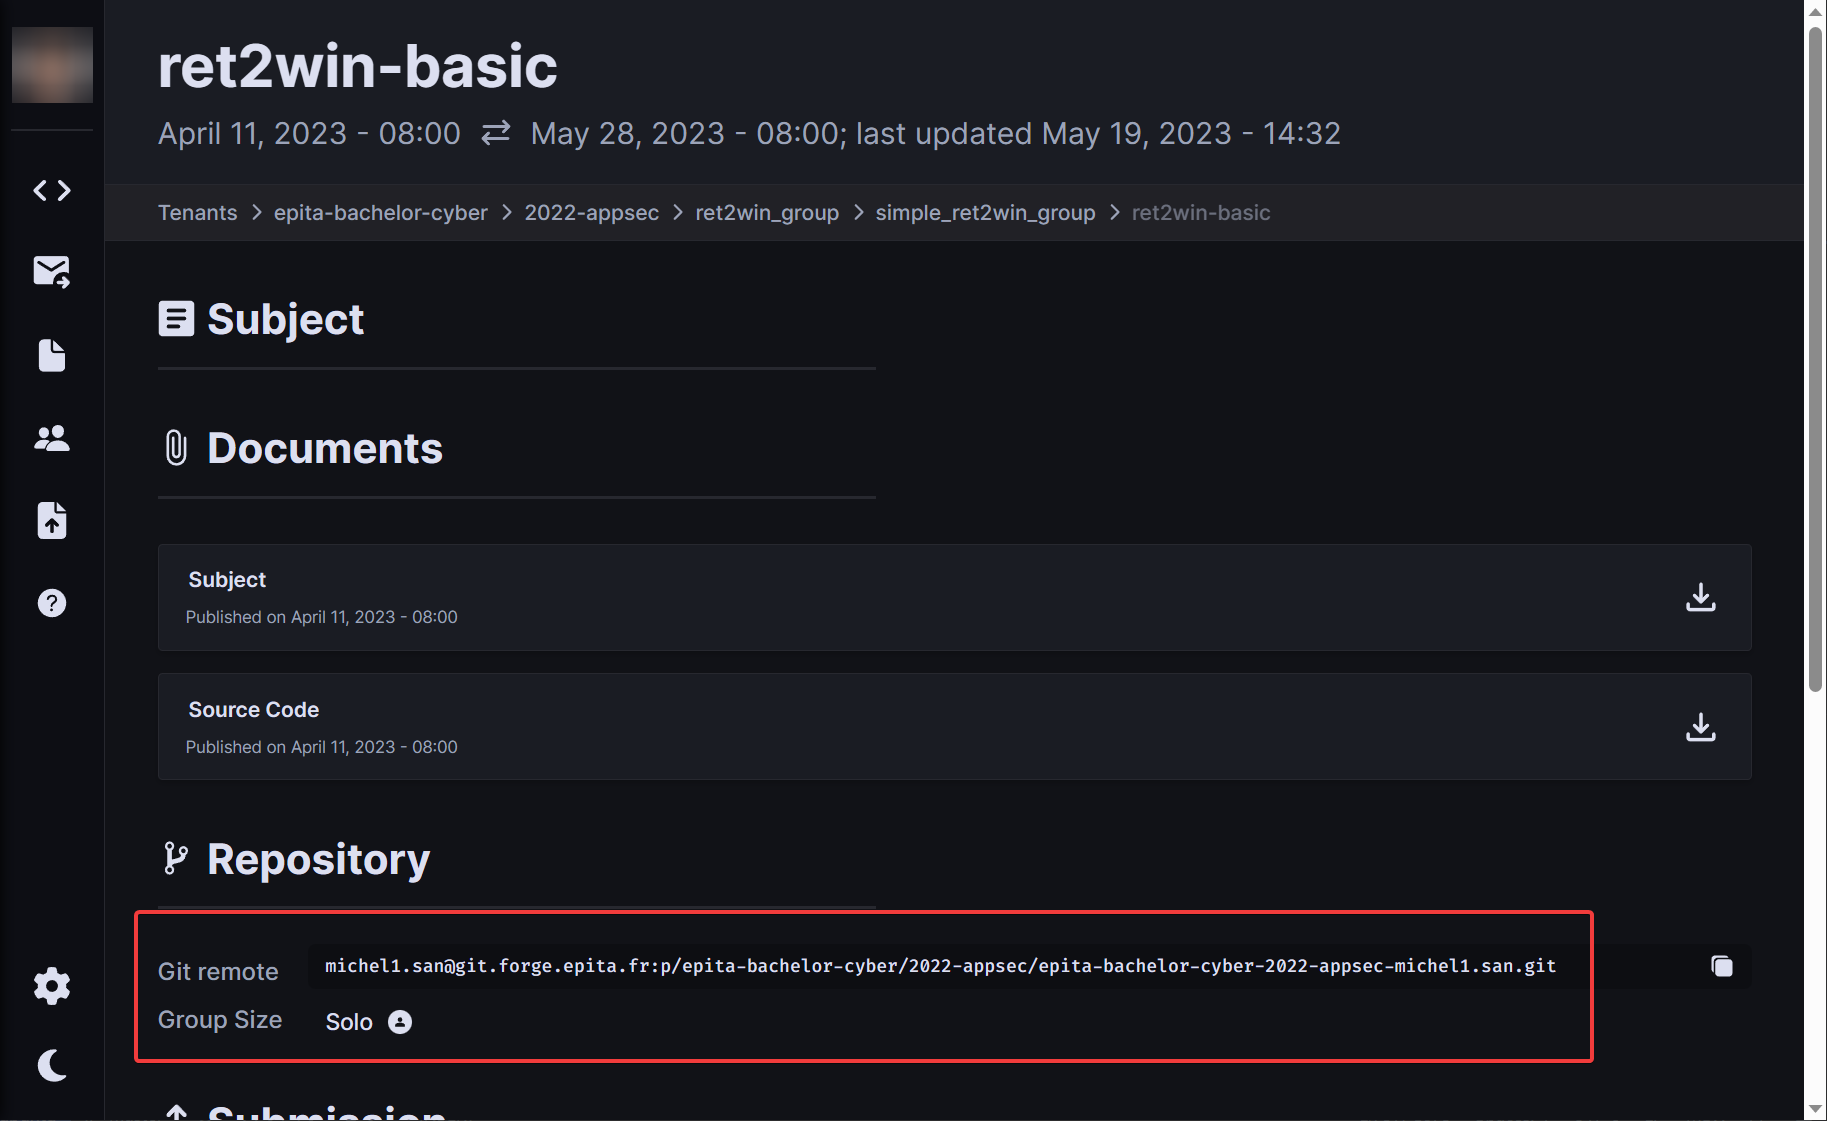
git clone <username>@git.forge.epita.fr:p/epita-bachelor-cyber/2022-appsec/epita-bachelor-cyber-2022-appsec-<username>.git
Cloning into 'epita-bachelor-cyber-2022-appsec-michel1'...
Enter passphrase for key '/root/.ssh/id_ed25519':
Welcome @michel1.san from 163.5.2.51
remote: Enumerating objects: 198, done.
remote: Counting objects: 100% (198/198), done.
remote: Compressing objects: 100% (155/155), done.
remote: Total 198 (delta 64), reused 0 (delta 0), pack-reused 0
Receiving objects: 100% (198/198), 19.45 KiB | 1.77 MiB/s, done.
Resolving deltas: 100% (64/64), done.
You will be using that directory to push your exercises.
Download exercises
- Go on the first exercise
- Download the
exercises.zipfile by clicking on "Source Code"
- Copy the file into your docker container, by copying to the mounted folder
- Unzip the file inside your git cloned folder
7z x exercises.zip -ocloned_dir
# example
# 7z x exercises.zip -oepita-bachelor-cyber-2022-appsec-michel1.san
Instructions
The common goal of the exercises is to exploit a vulnerability present in a binary to print the content
of a file called flag.txt .
The student must write an exploit in a file called exploit.py, which will run the vulnerable binary named main.
The flag format is FLAG{random_stuff}, and must be printed out in the stdout during the execution of the script
(i.e: using print() or log.info()).
The layout of the directory during execution will look like :
|- some_directory
    |- main         (vulnerable binary)
    |- flag.txt     (contains the flag)
    |- exploit.py   (student's exploit)
Obviously, the flag is not readable by the student using normal means (opening the file for example).
Because of infrastructure reasons, you cannot use the Corefile to find the offset.
You must find your padding offset locally first, and use it in your script.
Pushing your work
Repository layout
You must have one folder per exercise, and it must exactly match the name of the exercise.
Put all your python commands in the exploit.py file, only this file will be used for correction.
It should look like this:
./                          <-- root of your repo
|-- ret2win-basic           <-- exercise 1 name
    |-- exploit.py          <-- your exploit
|-- ret2win-which-func      <-- exercise 2 name
    |-- exploit.py
If you do not respect this layout, your work will not be corrected by the moulinette.
Push
Example if you want to push your work for the exercise "ret2win-basic".
- Write your exploit
mkdir ret2win-basic
touch ret2win-basic/exploit.py
- Add your work
git add ret2win-basic
git commit -m "ret2win-basic"
- Tag your exercise (very important !), based on the
tag patternshown on the website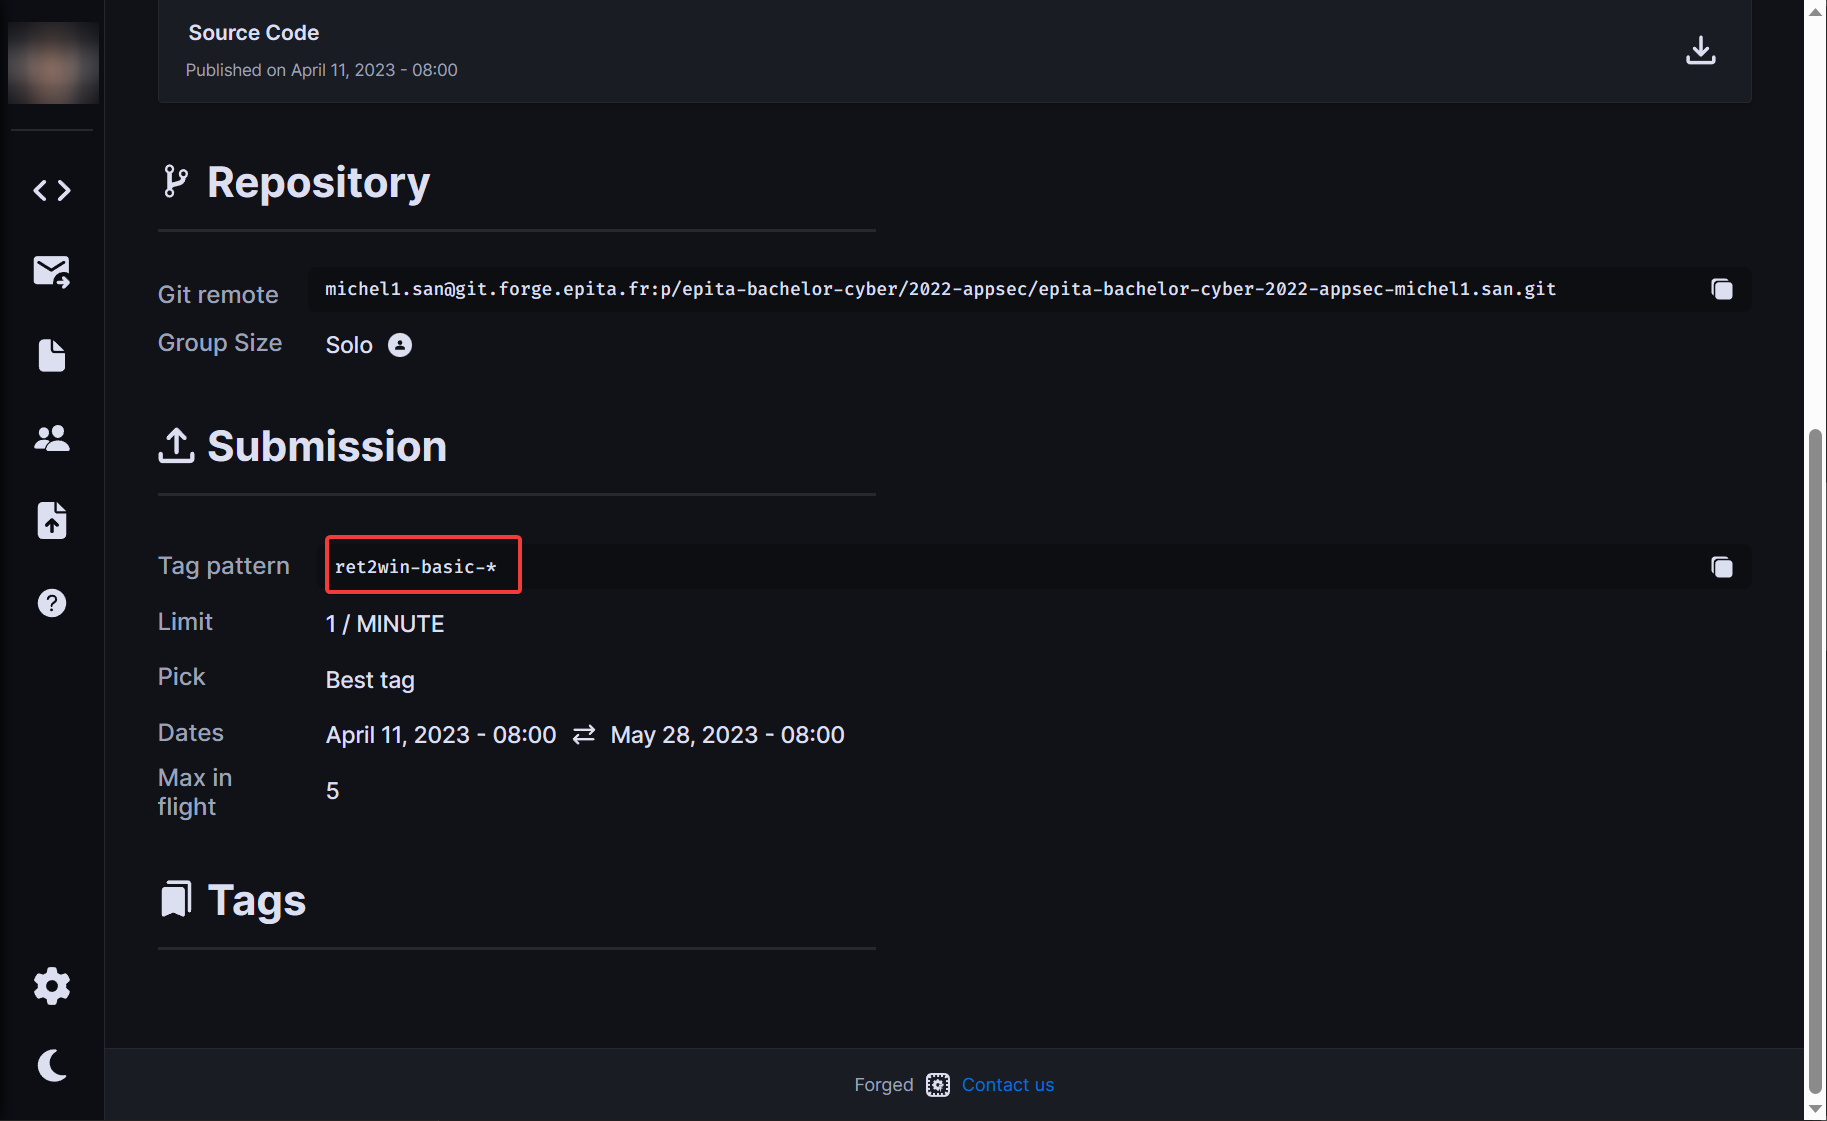
# tag pattern is : ret2win-basic-*
git tag -a "ret2win-basic-0.1" -m "ret2win-basic"
# the -m comment can be anything
- Push your commit and your tags
git push --follow-tags
Update your work
If you want to retry again, just do the same but with another tag version. You must remember to push the tags to trigger the moulinette.
git add ret2win-basic/exploit.py
git commit -m "ret2win-basic: fix padding"
git tag -a "ret2win-basic-0.11" -m "ret2win-basic"
git push --follow-tags
Troubleshooting
General
- The binary is at
./main, usetarget = './main'in your exploit - For printing the flag, prefer using
p.clean()instead ofp.recvorp.recvline
Shellcode
For the shellcode exercises, use this :
p.sendline(payload)  # shellcode
p.clean()
p.sendline("cat flag.txt")
p.wait(3)           # add delay, because the moulinette is slow sometimes
print(p.clean())    # finally, print output
Tag refused
If you get an error when trying to push your tags, like "pre-hook...", delete your faulty tags with
git tag -d <faulty_tag>
# example:
# git tag -d ret2win-basic-0.30